-
 files/US_FLAG.webp
American Military Graphics. com
We carry a wide variety of merchandise for Army, Navy, Air Force and Marines including License Plates, License Plate Frames, Parking Signs, Street signs Vehicle Decals and much more. Over 1000 ships available,
Shop Now -
 files/AOE_2_B.jpg
-
 files/USS_Enterprise__CVN-65.jpg
American Military Graphics. com
All of our merchandise is Made in the U.S.A. by Veterans for Veterans.
Shop Now -
 files/sub_2.jpg
-
 files/STELTH_BOMBER.webp
-
 files/ARMY_M1_ABRAMES.webp
-
 files/MARINE.jpg
-
Shipping Provider
We Ship USPS and UPS
-
Shipping Time
Items Shipped Dailey Monday - Friday
-
Handling Time
All Items Are Shipped Within 2 Days of Purchase,
Excluding Weekends.
Product Catalog
View all-
-19%

Vendor: American Military Graphics
AIR FORCE DAD Aluminum License Plate Military USA Car Truck RV P001
Sale price $12.99Regular price $15.99 -
-19%

Vendor: American Military Graphics
AIR FORCE HUSBAND Aluminum License Plate Military USA Car Truck RV P001
Sale price $12.99Regular price $15.99 -
-19%

Vendor: American Military Graphics
AIR FORCE MOM Aluminum License Plate Military USA Car Truck RV P001
Sale price $12.99Regular price $15.99 -
-19%

Vendor: American Military Graphics
AIR FORCE RETIRED Aluminum License Plate Military USA Car Truck RV P001
Sale price $12.99Regular price $15.99 -
-19%

Vendor: American Military Graphics
AIR FORCE WIFE Aluminum License Plate Military USA Car Truck RV P001
Sale price $12.99Regular price $15.99
License Plates
View all-
-19%

Vendor: American Military Graphics
USS KING DLG 10 Aluminum License Plate Military USN Car Truck RV P001
Sale price $12.99Regular price $15.99 -
-21%

Vendor: American Military Graphics
USS CALLAGHAN DDG 994 Aluminum License Plate U.S. Flag Military USN Car Truck RV P002
Sale price $15.99Regular price $19.99 -
-19%

Vendor: American Military Graphics
USS CANOPUS AS 34 Aluminum License Plate Military USN Car Truck RV P001
Sale price $12.99Regular price $15.99 -
-36%


Vendor: American Military Graphics
USS KAMEHAMEHA SSN 642 Aluminum Rating License Plate U.S. Flag Military USN Car Truck RV P007
Sale price $12.99Regular price $19.99 -
-36%


Vendor: American Military Graphics
USS BARR SSN 804 Aluminum Rating License Plate U.S. Flag Military USN Car Truck RV P007
Sale price $12.99Regular price $19.99 -
-36%


Vendor: American Military Graphics
USS ARIZONA SSN 803 Aluminum Rating License Plate U.S. Flag Military USN Car Truck RV P007
Sale price $12.99Regular price $19.99
Plate Frames
View all-
-11%


Vendor: American Military Graphics
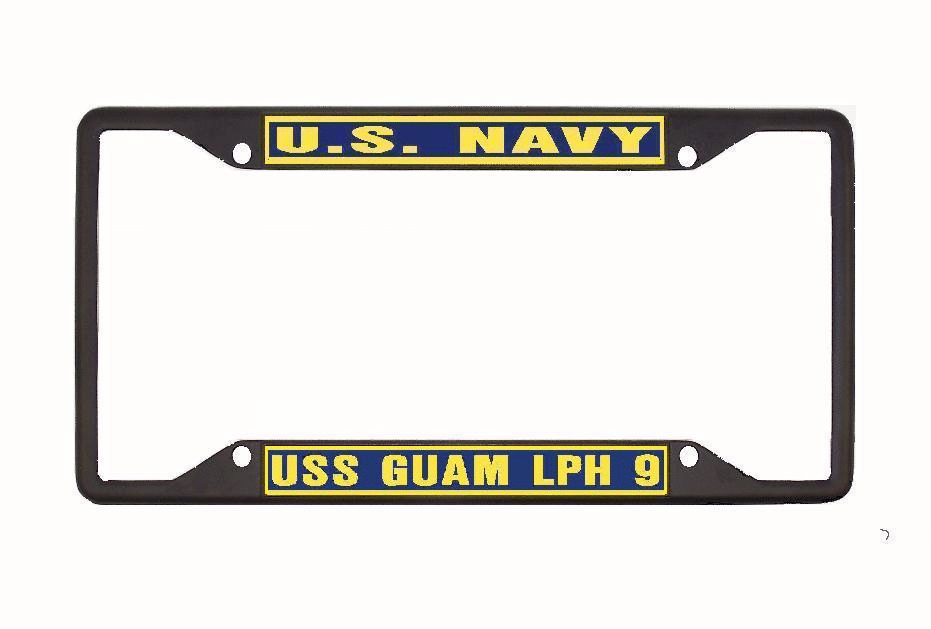
USS GUAM LPH 9 License Plate Frame All-State Metal Military USN PF002
Sale price $17.99Regular price $19.99 -
-11%


Vendor: American Military Graphics
USS TAYLOR FFG 50 License Plate Frame All-State Metal Military USN PF002
Sale price $17.99Regular price $19.99 -
-11%


Vendor: American Military Graphics
USS WISCONSIN BB 64 License Plate Frame Metal or Plastic Military USN PF001
Sale price $17.99Regular price $19.99 -
-11%


Vendor: American Military Graphics
USS MISSOURI BB 63 License Plate Frame All-State Metal Military USN PF002
Sale price $17.99Regular price $19.99 -
-11%


Vendor: American Military Graphics
USS PONCE LPD 15 License Plate Frame Metal or Plastic Military USN PF001
Sale price $17.99Regular price $19.99 -
-11%


Vendor: American Military Graphics
USS SAIPAN LHA 2 License Plate Frame Metal or Plastic Military USN PF001
Sale price $17.99Regular price $19.99
Parking Signs
View all-
-16%

Vendor: American Military Graphics
USS NASHVILLE LPD 13 Aluminum Parking Sign Navy Blue / Yellow 12" x 18" Military USN PS003
Sale price $27.99Regular price $32.99 -
-16%

Vendor: American Military Graphics
USS GEORGIA SSGN 729 Aluminum Parking Sign Navy Blue / Yellow 12" x 18" Military USN PS003
Sale price $27.99Regular price $32.99 -
-16%

Vendor: American Military Graphics
USS FLORIDA SSGN 728 Aluminum Parking Sign Navy Blue / Yellow 12" x 18" Military USN PS003
Sale price $27.99Regular price $32.99 -
-16%

Vendor: American Military Graphics
USS MICHIGAN SSGN 727 Aluminum Parking Sign Navy Blue / Yellow 12" x 18" Military USN PS003
Sale price $27.99Regular price $32.99 -
-16%

Vendor: American Military Graphics
USS OHIO SSGN 726 Aluminum Parking Sign Navy Blue / Yellow 12" x 18" Military USN PS003
Sale price $27.99Regular price $32.99 -
-16%

Vendor: American Military Graphics
USS LOUISIANA SSBN 743 Aluminum Parking Sign Navy Blue / Yellow 12" x 18" Military USN PS003
Sale price $27.99Regular price $32.99
Street Signs
View all-
-14%


Vendor: American Military Graphics
USS GEORGIA SSGN 729 Aluminum Street Sign Navy Blue / Yellow 6" x 30" Military USN SS002
Sale price $25.99Regular price $29.99 -
-14%


Vendor: American Military Graphics
USS FLORIDA SSGN 728 Aluminum Street Sign Navy Blue / Yellow 6" x 30" Military USN SS002
Sale price $25.99Regular price $29.99 -
-14%


Vendor: American Military Graphics
USS MICHIGAN SSGN 727 Aluminum Street Sign Navy Blue / Yellow 6" x 30" Military USN SS002
Sale price $25.99Regular price $29.99 -
-14%


Vendor: American Military Graphics
USS OHIO SSGN 726 Aluminum Street Sign Navy Blue / Yellow 6" x 30" Military USN SS002
Sale price $25.99Regular price $29.99 -
-14%


Vendor: American Military Graphics
USS LOUISIANA SSBN 743 Aluminum Street Sign Navy Blue / Yellow 6" x 30" Military USN SS002
Sale price $25.99Regular price $29.99
Decals & Stickers
View all-
-21%

Vendor: American Military Graphics
USS FULTON AS 11 Oval Rating Decal U S Flag 11.75" x 8.3" Car Truck RV Military USN D007
Sale price $15.99Regular price $19.99 -
-24%


Vendor: American Military Graphics
USS KITTY HAWK CV 63 Rating Decal 8.1" x 5.75 Car Truck RV Military USN D006
Sale price $9.99Regular price $12.99 -
-16%


Vendor: American Military Graphics
USS SURIBACHI AE 21 Vinyl Silhouette Decal 6.5" x 15.75" Car Truck RV Military USN D004
Sale price $16.99Regular price $19.99 -

Vendor: American Military Graphics
USS KALAMAZOO AOR 6 Vinyl Decal Oval U.S. Flag Car Truck RV Military USN D003
Regular price From $6.99 -
-21%


Vendor: American Military Graphics
USS LYNDON B JOHNSON DDG 1002 Rating Decal 16.5" x 11.5" Car Truck RV Military USN D006
Sale price $19.99Regular price $24.99
Hitch Covers
View all-
-25%


Vendor: American Military Graphics
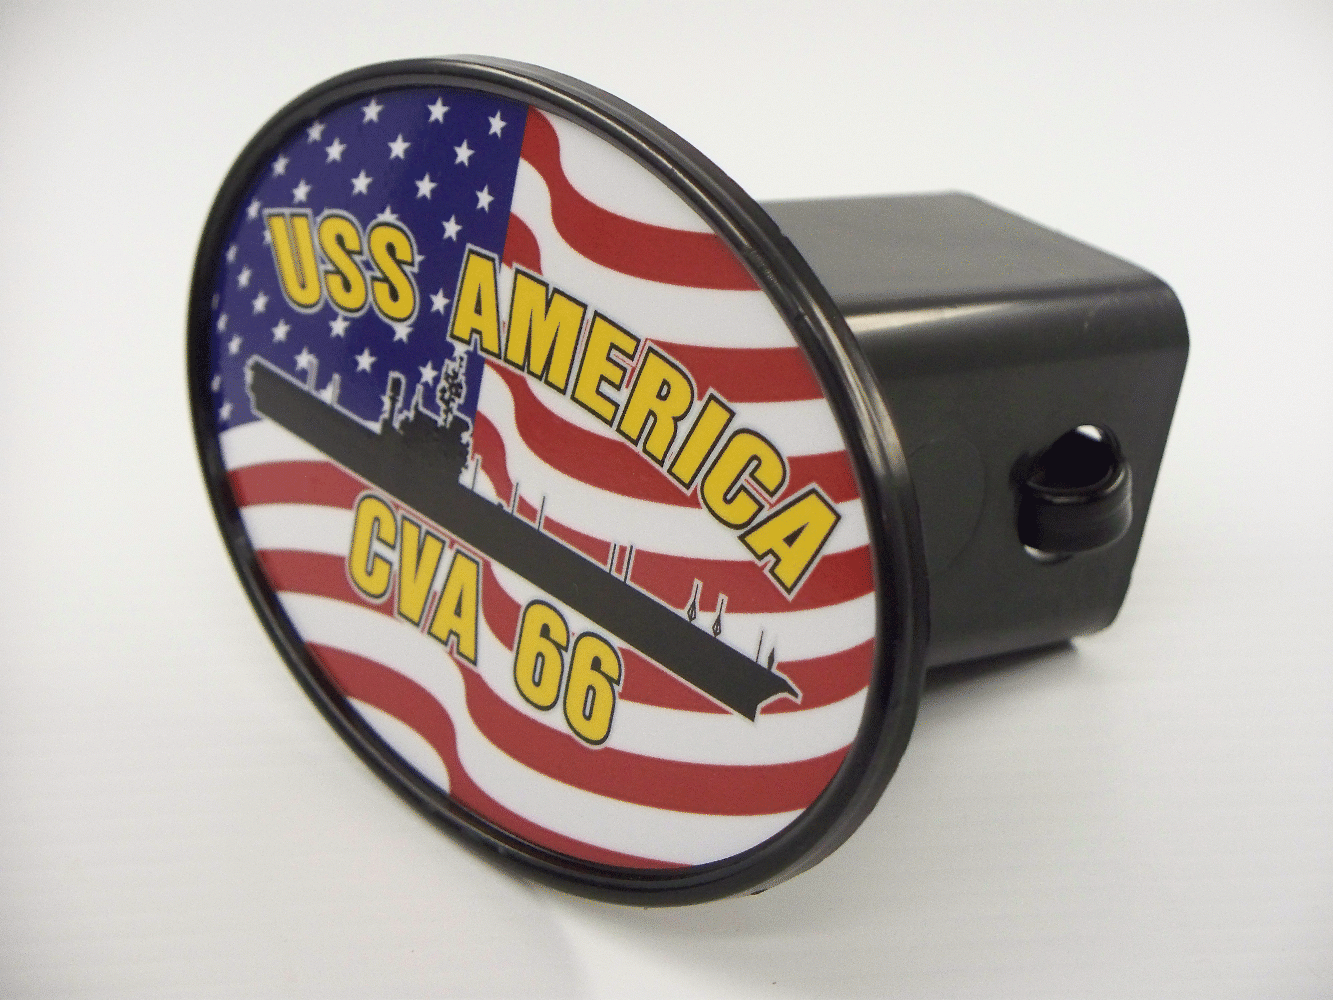
USS AMERICA CVA 66 Hitch Cover Receiver Plug Car Truck RV
Sale price $18.99Regular price $24.99 -
-25%


Vendor: American Military Graphics
USS AMERICA CV 66 Hitch Cover Receiver Plug Car Truck RV
Sale price $18.99Regular price $24.99 -
-25%


Vendor: American Military Graphics
USS DIXIE AD 14 Rating Round Hitch Cover Military USN Car Truck RV
Sale price $18.99Regular price $24.99 -
-25%


Vendor: American Military Graphics
USS DIXIE AD 14 Hitch Cover Receiver Plug Car Truck RV
Sale price $18.99Regular price $24.99
Clocks
View all-


Vendor: American Military Graphics
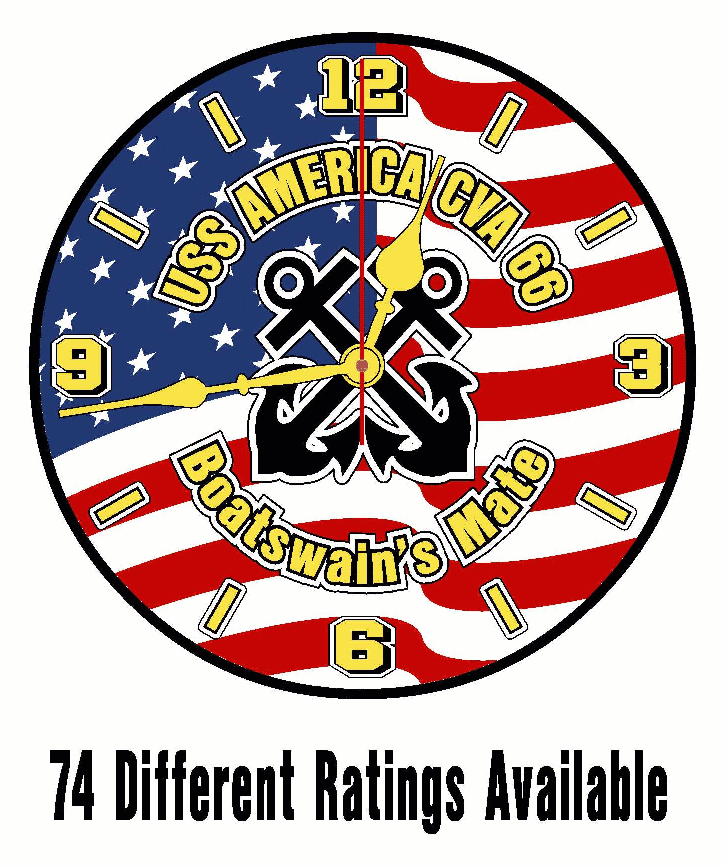
USS AMERICA CVA 66 Quartz Rating 11 Inch Wall Clock Military USN CL001
Regular price $29.99 -


Vendor: American Military Graphics
USS AMERICA CV 66 Quartz Rating 11 Inch Wall Clock Military USN CL001
Regular price $29.99 -


Vendor: American Military Graphics
CITY OF CORPUS CHRISTI SSN 705 Quartz Rating 11 Inch Wall Clock Military USN CL001
Regular price $29.99 -


Vendor: American Military Graphics
USS PRAIRIE AD 15 Quartz Rating 11 Inch Wall Clock Military USN CL001
Regular price $29.99 -


Vendor: American Military Graphics
USS YOSEMITE AD 19 Quartz Rating 11 Inch Wall Clock Military USN CL001
Regular price $29.99
Key Rings
View all-
-19%

Vendor: American Military Graphics
USS SHENANDOAH AD 44 Leather Backed Metal Key Ring Military USN Car Truck RV K001
Sale price $8.99Regular price $10.99 -
-19%

Vendor: American Military Graphics
USS CAPE COD AD 43 Leather Backed Metal Key Ring Military USN Car Truck RV K001
Sale price $8.99Regular price $10.99 -
-19%

Vendor: American Military Graphics
USS YELLOWSTONE AD 41 Leather Backed Metal Key Ring Military USN Car Truck RV K001
Sale price $8.99Regular price $10.99 -
-19%

Vendor: American Military Graphics
USS PUGET SOUND AD 38 Leather Backed Metal Key Ring Military USN Car Truck RV K001
Sale price $8.99Regular price $10.99 -
-19%

Vendor: American Military Graphics
USS SAMUEL GOMPERS AD 37 Leather Backed Metal Key Ring Military USN Car Truck RV K001
Sale price $8.99Regular price $10.99
Coasters
View all-
-11%

Vendor: American Military Graphics
USS CARL VINSON CVN 70 Ceramic Coaster Set W / Holder Military USN C001
Sale price $26.99Regular price $29.99 -
-11%

Vendor: American Military Graphics
USS ENTERPRISE CVN 65 Ceramic Coaster Set W / Holder Military USN C001
Sale price $26.99Regular price $29.99
Our favourite products
View all-
-19%

Vendor: American Military Graphics
AIR FORCE DAD Aluminum License Plate Military USA Car Truck RV P001
Sale price $12.99Regular price $15.99 -
-19%

Vendor: American Military Graphics
AIR FORCE HUSBAND Aluminum License Plate Military USA Car Truck RV P001
Sale price $12.99Regular price $15.99 -
-19%

Vendor: American Military Graphics
AIR FORCE MOM Aluminum License Plate Military USA Car Truck RV P001
Sale price $12.99Regular price $15.99 -
-19%

Vendor: American Military Graphics
AIR FORCE RETIRED Aluminum License Plate Military USA Car Truck RV P001
Sale price $12.99Regular price $15.99 -
-19%

Vendor: American Military Graphics
AIR FORCE WIFE Aluminum License Plate Military USA Car Truck RV P001
Sale price $12.99Regular price $15.99 -


Vendor: American Military Graphics
CITY OF CORPUS CHRISTI SSN 705 Quartz Rating 11 Inch Wall Clock Military USN CL001
Regular price $29.99 -
-7%


Vendor: American Military Graphics
NEW YORK CITY SSN 696 Aluminum Street Sign Navy Blue / Yellow 6" x 30" Military USN SS002
Sale price $27.99Regular price $29.99 -
-19%

Vendor: American Military Graphics
SEMPER FI U.S. Marine Aluminum License Plate Military USMC Car Truck RV P001
Sale price $12.99Regular price $15.99 -
-21%


Vendor: American Military Graphics
SEMPER FI U.S. MARINES Vinyl Decal 12" X 34" Car Truck RV Military USMC D005
Sale price $19.99Regular price $24.99 -
-23%


Vendor: American Military Graphics
SEMPER FI U.S. MARINES Vinyl Decal 3" X 7.5" Car Truck RV Military USMC D005
Sale price $6.99Regular price $8.99 -
-19%


Vendor: American Military Graphics
SEMPER FI U.S. MARINES Vinyl Decal 5.5" X 16" Car Truck RV Military USMC D005
Sale price $12.99Regular price $15.99 -


Vendor: American Military Graphics
SEMPER FI U.S. Marines Vinyl Window Decal Single Color Car Truck RV Military USMC D001
Regular price From $4.99
Anthony G.
☆☆☆☆☆
Item was received as described and was packaged well and in good condition. It looks to be of good quality and was priced accordingly. I can't wait to see how it looks on my truck. USS VREELAND FF 1068 DE 1068 Decal
William S.
☆☆☆☆☆
Received promptly and well packaged. Decal was as described and a nice piece for a good price. USS DETROIT AOE 4 Oval Decal / Sticker
Donna C.
☆☆☆☆☆
Great customized piece bought as a Christmas gift. Great value for the money. Five star seller USS THEODORE ROOSEVELT CVN 71 Round Rating Hitch Cover
James K.
☆☆☆☆☆
Great item, that was my first ship. Miss it so much. Thank you, great price, fast shipping. USS CALLAGHAN DDG 994 License Plate Frame
Greg B.
☆☆☆☆☆
Great seller. The decals will look great on my truck topper. They are a great value and the quality on of them will make them last. The condition of them will last longer then my tour on the Ranger did. USS RANGER CV 61 Oval Decal / Sticker
Larry M.
☆☆☆☆☆
The quality, condition, value and appearance were phenomenal! USS JOHN F KENNEDY CV 67 Oval Decal / Sticker
Andrew B.
☆☆☆☆☆
Nice metal frame. Customized for my dad's ship. Packed well and shipped fast. USS BRISCOE DD 977 License Plate Frame
Sheena L.
☆☆☆☆☆
Thank you for a excellent sign. Fast shipping as described I highly recommend this seller USS SIMON LAKE AS 33 License Plate Frame
Laura M.
☆☆☆☆☆
Absolutely love, it is perfect brand new in great condition price was great going to look terrific on my vehicle. USS SIERRA AD 18 Hitch Cover
Joseph C.
☆☆☆☆☆
Thank you, these are perfect and look great and inexpensive. No scratches and are solid. USS INCHON LPH 12 Rating License Plate
Greg B.
☆☆☆☆☆
Great seller. The hitch cover is high quality and a great value. The condition is great and will look great on my new truck. USS KITTY HAWK CV 63 Hitch Cover
William C.
☆☆☆☆☆
Colors are very vibrant and show up well on the back window. I even had to have one made for a ship that they did not have the outline for, so we personalized it to perfection. Great quality, price and fast shipping. Have delt with for over 10 years. Always quick service and outstanding quality. USS MERRIMACK AO 179 Oval Decal / Sticker
Liz S.
☆☆☆☆☆
Ordered 3 different decals and there was extremely nice, very well made. Quick shipping and packaged well. Will order from this seller again. USS NIMITZ CVN 68 3 X 9 Decal
Brandon M.
☆☆☆☆☆
First time seeing this unique license plate for the ship I was assigned to over 30 years ago. It was made to order to the license plate arrived in brand new condition. I'll definitely display this license plate with pride. Thanks for a great transition! USS OLIVER HAZARD PERRY FFG 7 Rating License Plate
INSTALLING YOUR VINYL DECALS
Applying your vinyl graphics is simple if you follow some basic guidelines:
Patience, good preparation, a steady hand, and good weather will produce the best results.
The VINYL DECAL comes in one piece and is sandwiched between a clear layer of protective tape and a layer of waxy backing paper.
– Both the backing paper and the clear protective tape are removed during the installation process.
– The adhesive side of the decal is sticking to the backing paper and peels off easily.
– HOWEVER, the adhesive on the vinyl decal is EXTREMELY sticky, so be very careful when you peel it off.
– If you ordered your decals to be arranged in a group, they will come as one large display and will be mounted all at once.
– WARNING: The vinyl will stretch if you are too rough with it and that’s NOT a good thing.
Installation Site Conditions:
– Apply decals to hard, smooth, non-porous surfaces (glass, metal, etc.) or properly prepared wood surfaces (sanded, painted/clear-coated and completely dried).
– Always install the graphics when the temperature is above 50 degrees F.
– Don’t try to install in windy conditions.
– Make sure the surface where you are going to install your decals is absolutely clean and spotless.
INSTALLATION STEPS:
1. Allow large decals to flatten out on a table in a warm room before installation. If air bubbles have formed between the clear transfer tape and decal surface during shipping, you can remove them by gently pushing them toward the outer edges with a credit card.
2. Have a plastic putty knife or credit card on hand for step 6.
3. Spray the installation surface LIGHTLY with a mist of water from a spray bottle.
NOTE: For Decals over 16 inches: Add 3 drops of dish soap to the water before spraying. Use soapy water LIGHTLY – if you drown the surface or the sticky vinyl adhesive too much – it won’t stick. The soapy water is the fail safe method for positioning larger decals perfectly and for being able to remove bubbles.
4. Starting at any one side (top, bottom, left, right), place edge of decal where you want it.
5. Slowly lay rest of decal down on installation surface. If needed, gently move decal to exact position where you want it.
6. Using “squeegee”, gently smooth out any air or water bubbles on decal, working from the center to outside edges. Do this to avoid trapping air or water bubbles. Allow 1 hour to dry.
7. Finish by peeling the clear protective tape very slowly back on itself. Don’t just pull straight away from the surface. The slow motion will allow the vinyl to stay on the surface while removing the tape. You don’t want to pull the vinyl off the surface. Pop any bubbles with a pin and press out the air or water. Any water bubbles will evaporate.
PRO TIP: If vinyl decal moves, smooth it back down, you may need to “squeegee” additional soapy water out from under decal OR you may need to just give it a few more minutes then try again. When you are able to remove the clear tape easily with no movement of the vinyl decal you are finished with the installation.
-
 files/AE22PlateBoatswain_sMateOvalFlag.gif
-
 files/AE25PLATE.gif
-
 files/AE32PARKING3.gif
-
 files/AE21PARKING4.gif
-
 files/AE27PARKING2.gif
-
 files/AD42DECALOVALFLAG_95c92d71-dc71-4143-918f-9dd2b27cb485.gif
-
 files/AD42SILHOUETTE2_3d44c0a2-6e16-47a3-9a12-2997b87aa869.gif
Collections
-

Navy License Plates 4 products
Navy License Plates
-

Navy Clocks 15 products
Navy Clocks
-

Navy Coasters 2 products
Navy Coasters
-

Navy Plate Frames 1819 products
Navy Plate Frames


